

🏗️ Professional Tile Calculator
Accurate tile, grout, and cost estimation for all room shapes
📐 Input Details
📊 Results
Smart Tile Calculator: How to Get Exact Tiles, Grout & Cost
You measure the room, guess at a box count, and drive to the store. Three weeks later you’re five tiles short and the dye lot is gone. A smart tile calculator exists to stop that exact scenario, and it does more than basic square-footage math.
Old-school tile math ignores room shape, layout pattern, grout joints, and door and window cutouts. That gap between “roughly enough” and “exactly enough” is where money and weekends disappear. A proper tile calculator by room shape closes that gap by running the same checks a professional installer runs, just faster.
This guide walks through how the tool works, the formulas running behind the scenes, and two full worked examples (a bathroom and a kitchen) so you can see real numbers, not placeholders.
What Is a Smart Tile Calculator?
A smart tile calculator is a tool that computes tile count, box quantity, grout, and total cost for a room by combining room shape, tile size, layout pattern, and waste percentage into one calculation, instead of just dividing floor area by tile area.
A plain area calculator gives you one number: room size. A smart tile calculator online goes further. It converts units on the fly, subtracts door and window openings from wall area, adjusts waste for whichever pattern you’re laying, and totals grout and cost in the same pass.
That matters because tile installation mistakes are common and expensive. Homeowners routinely over-order by 15 to 25 percent “just to be safe,” or under-order and get stuck waiting on a discontinued dye lot. A calculator that factors in shape, pattern, and openings closes most of that gap before you ever reach the checkout counter.
What a floor and wall tile calculator actually checks
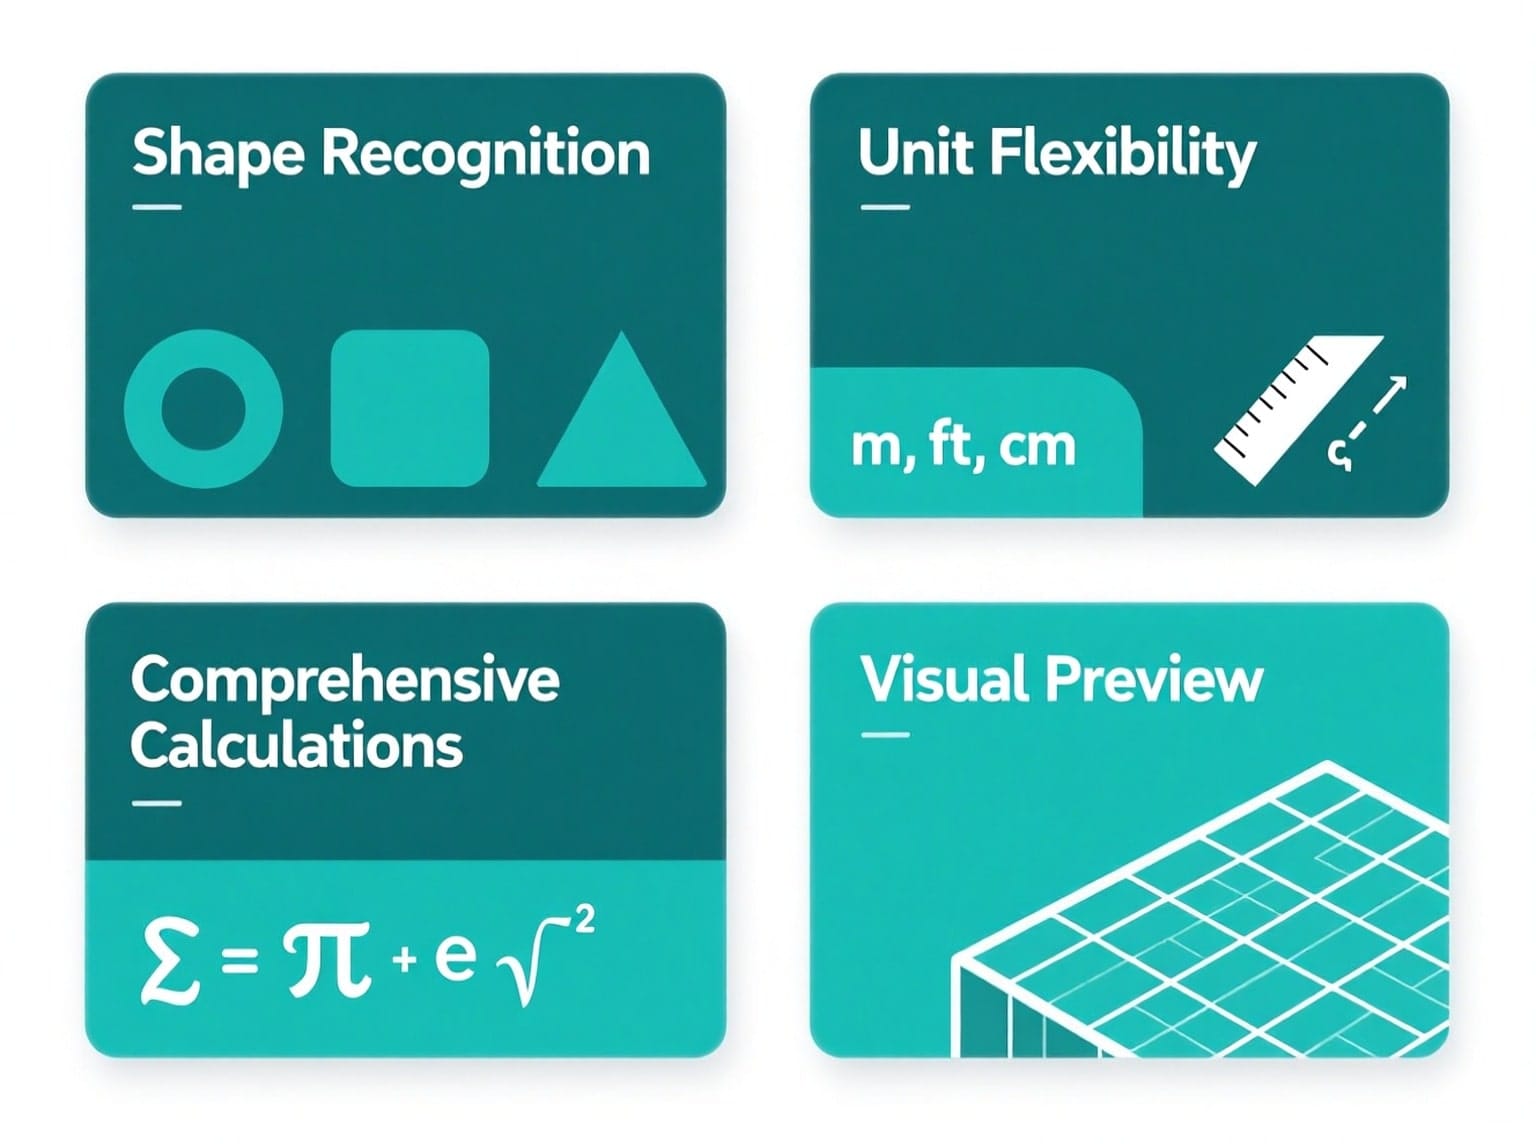
- Shape recognition: rectangle, circle, trapezoid, L-shape, or a custom area you’ve already measured.
- Unit flexibility: meters, feet, or yards for the room; millimeters, centimeters, or inches for the tile.
- Opening deductions: doors and windows subtracted from wall area automatically.
- Grout math: joint width and tile size rolled into a kilogram or pound total.
- Cost breakdown: tiles, grout, adhesive, and labor totaled by box or by piece.
Which Room Shapes Can a Tile Calculator Handle?
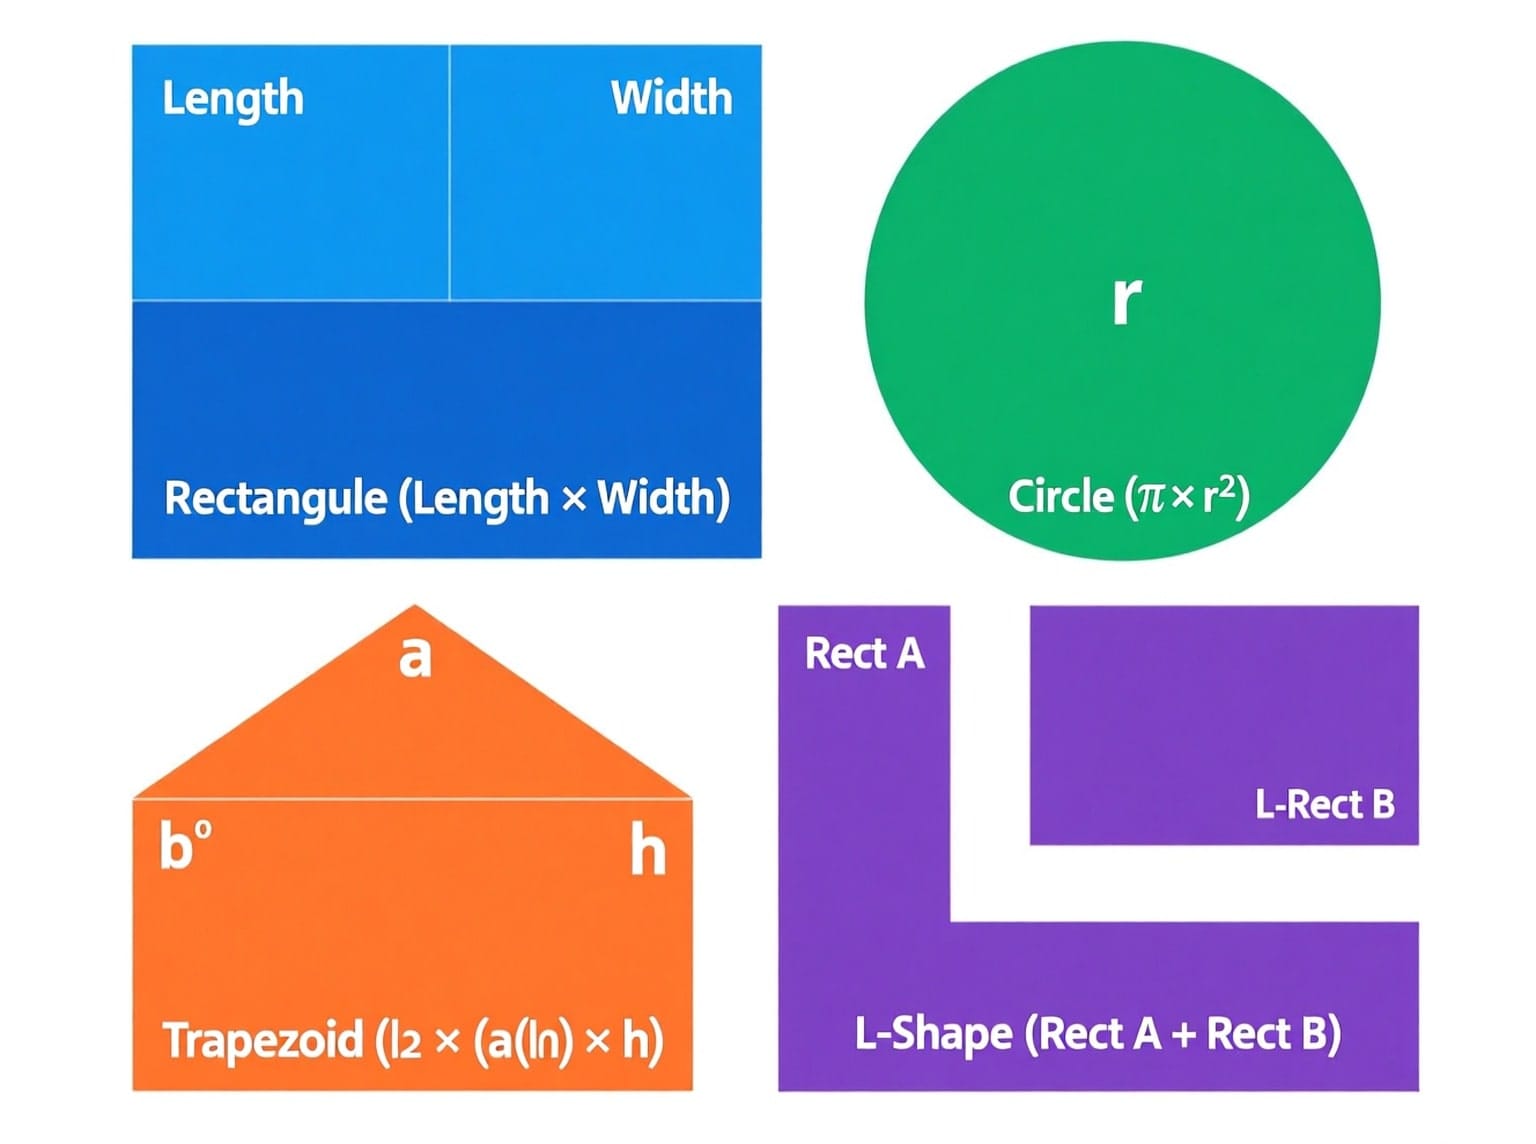
A modern tile calculator by room shape supports rectangles, circles, trapezoids, L-shapes, and custom areas. Each shape uses its own formula, so a curved shower pan and an L-shaped kitchen-dining combo both get accurate numbers instead of a rough rectangle estimate.
Most rooms aren’t perfect rectangles. Bay windows create trapezoids. Open-plan kitchens merge into L-shapes. Round shower pans need a circle formula, not a guess. Here’s how each shape is measured.
| Shape | Formula | Inputs Needed | Typical Use |
|---|---|---|---|
| Rectangle / Square | Length × Width | 2 dimensions | Standard bedrooms, bathrooms |
| Circle | π × (Diameter ÷ 2)² | Diameter | Round shower pans, curved patios |
| Trapezoid | 0.5 × (Side A + Side B) × Height | 2 parallel sides + height | Angled walls, bay windows |
| L-Shape | Rectangle A + Rectangle B | 4 dimensions | Kitchen-dining combos |
| Custom Area | Direct entry | Total m² or ft² | Already-measured irregular rooms |
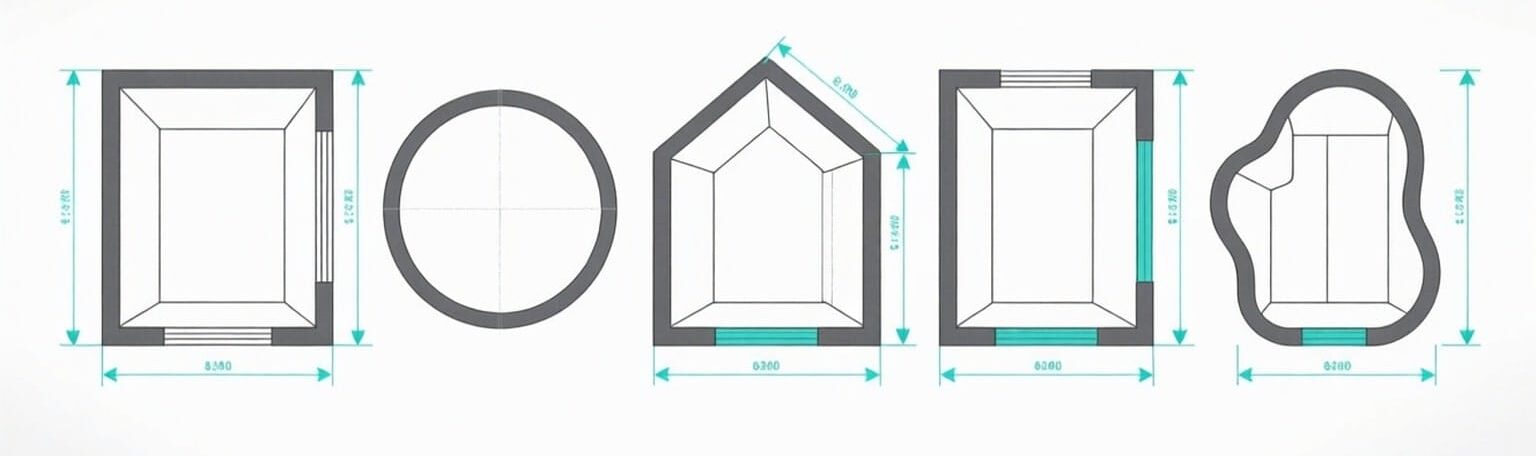
For a room that’s a mix of shapes (say, an L-shaped kitchen with a curved breakfast nook), split it into two calculations and add the results. Trying to force one formula over an irregular room is the fastest way to get a wrong number.
If you’re also working out fencing, foundations, or paving quantities for the same property, a plot area and perimeter calculator handles the outdoor side of the same shape-based math.
How Do You Use a Smart Tile Calculator, Step by Step?
Select your room type and shape, enter dimensions and tile size, deduct any doors or windows, pick a layout pattern, then let the calculator apply waste percentage and output tiles, boxes, grout, and cost. The whole process takes two to three minutes for a standard room.
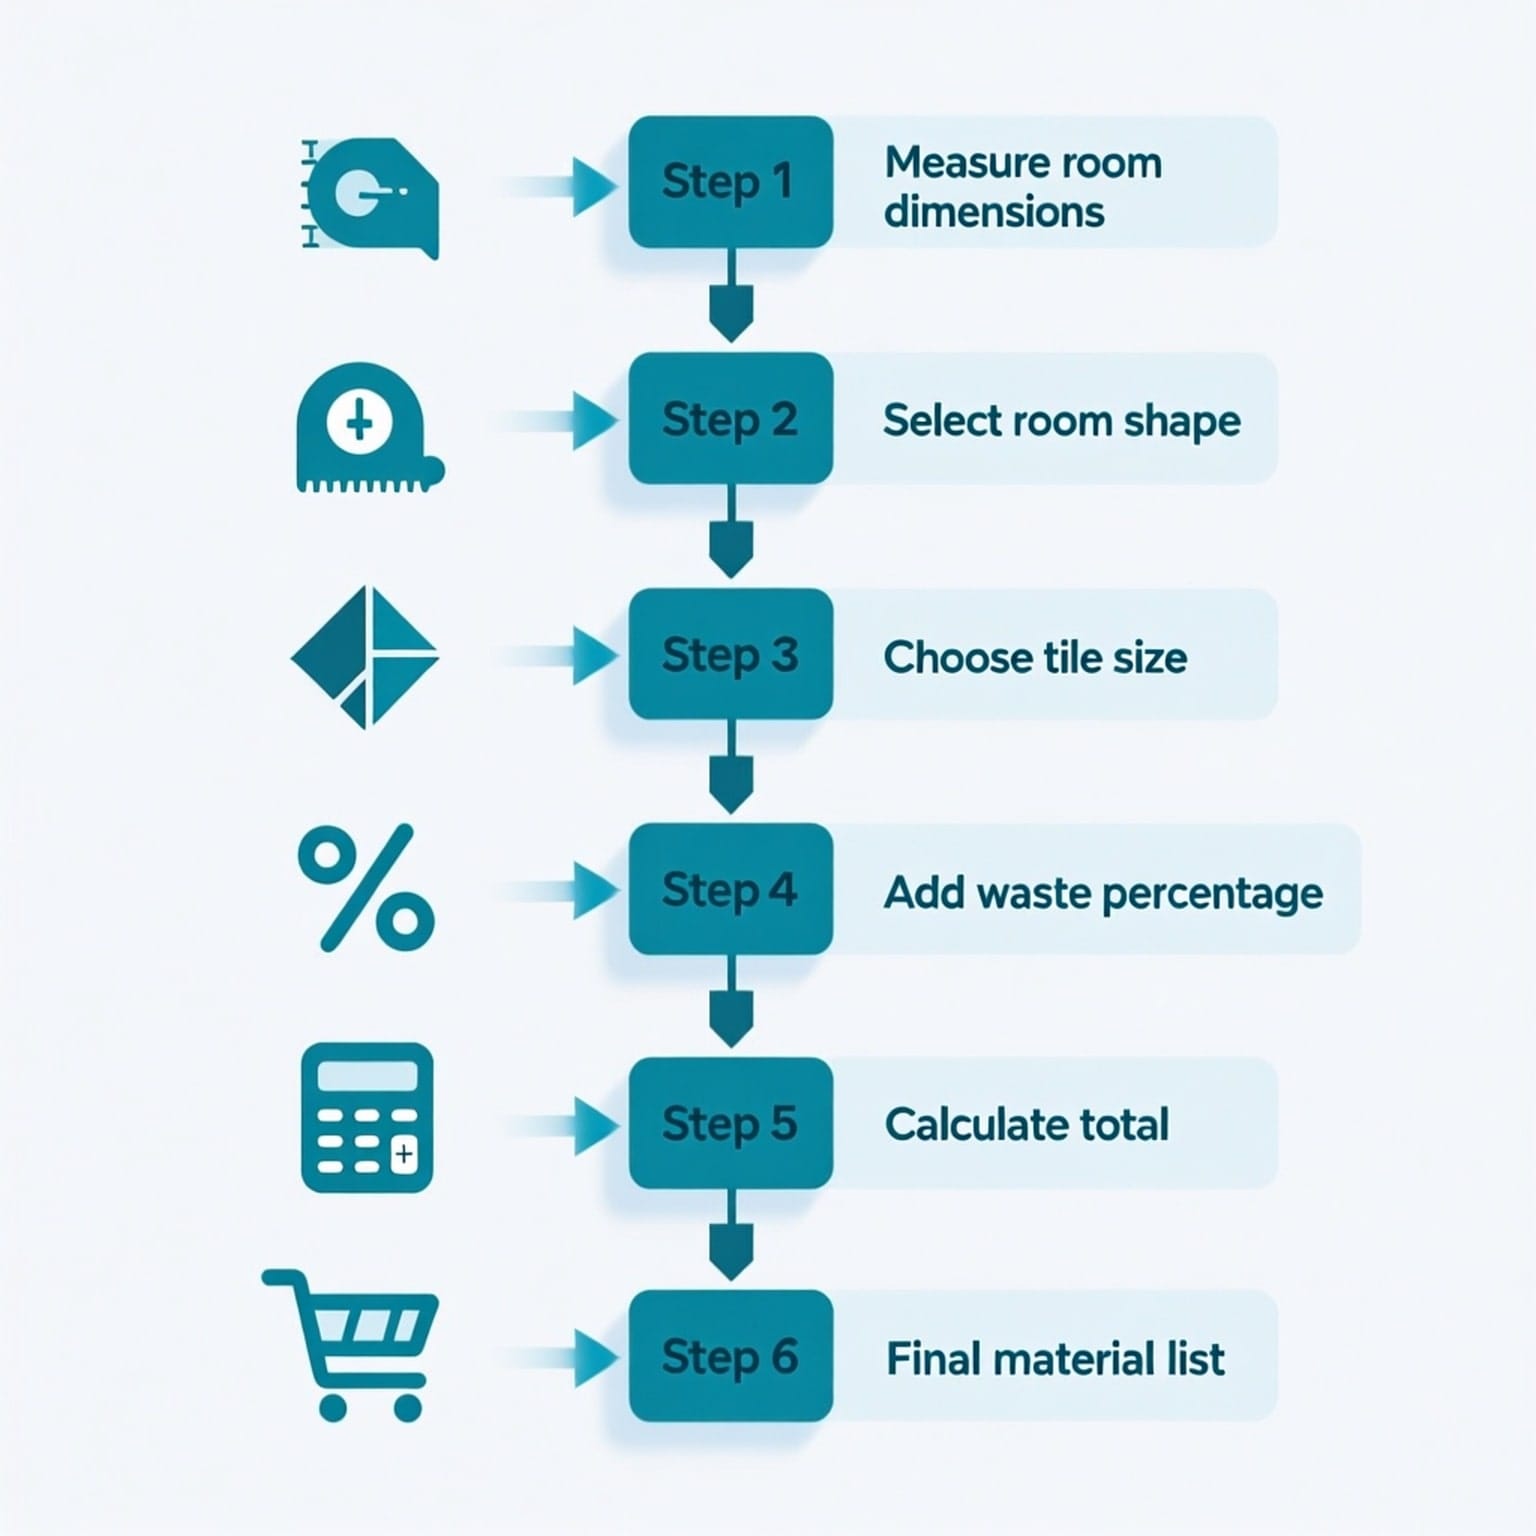
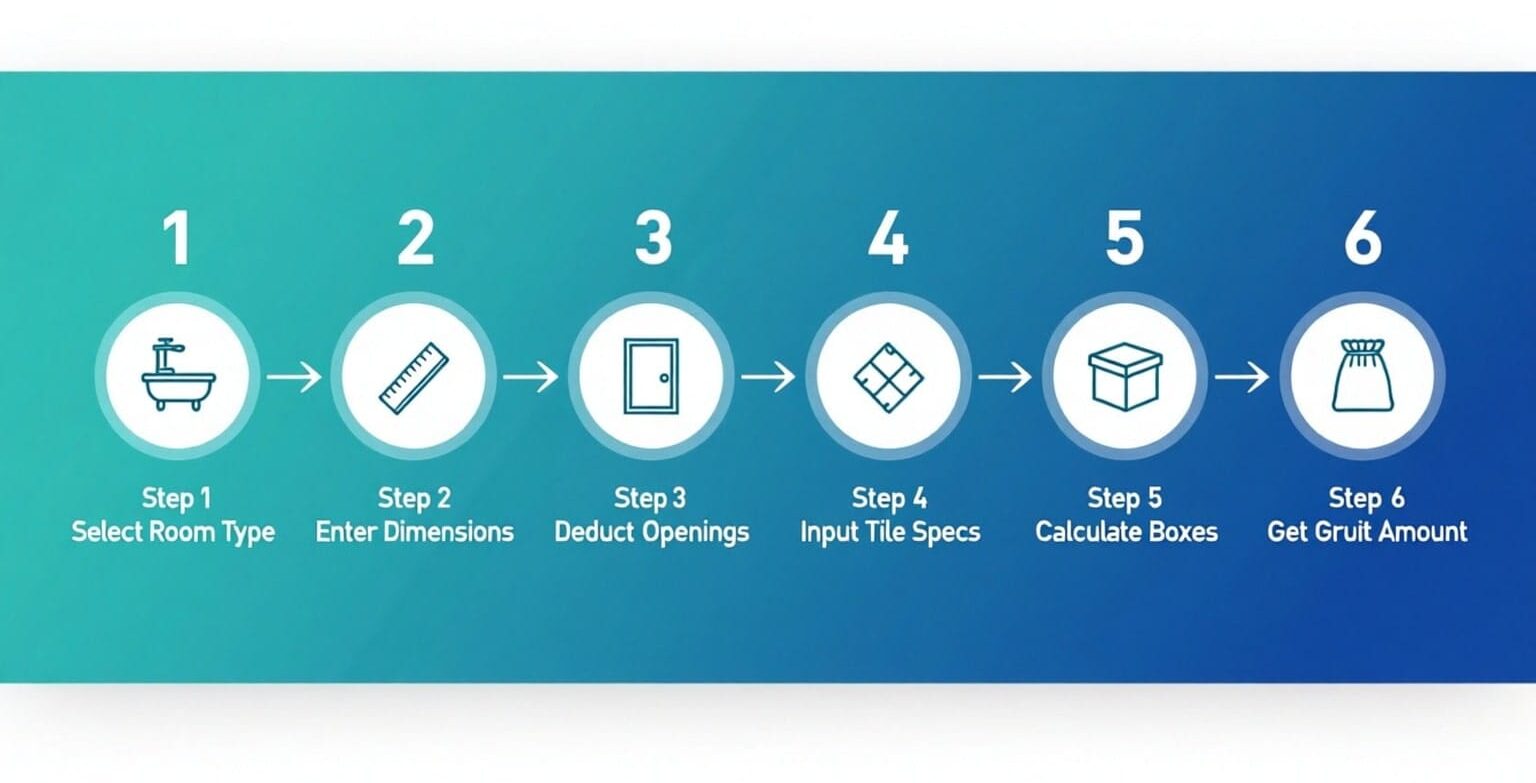
Here’s the six-step flow that a tile quantity calculator for bathroom or kitchen projects runs through, in order.
- Pick room type and shape. Selecting “Bathroom,” “Kitchen,” “Living Room,” or “Bedroom” loads sensible defaults for tile size, wastage, wall height, and grout rate. You can override any of them.
- Enter dimensions. Type length and width (or diameter, or the two parallel sides for a trapezoid) in your preferred unit. The floor area updates instantly.
- Add wall data if you’re tiling vertically. Enter wall height and choose whether all four walls get tiled. The calculator multiplies perimeter by height to get wall area.
- Deduct doors and windows. A standard door alone can cover nearly 2 m². Skip this step and you’ll over-order every time.
- Set tile size and pattern. Enter tile length and width, then choose straight, diagonal, or herringbone. Each pattern carries a different built-in waste allowance.
- Calculate. The tool converts every unit to a common base, applies waste, rounds up to full boxes, and totals grout and cost in one pass.
Measure every dimension twice, at different points along the wall. Rooms are rarely perfectly square, and a 3 to 5 cm difference between one end of a wall and the other adds up over a full floor.
How Do Layout Patterns Change Your Waste Percentage?
Layout pattern is the single biggest driver of tile waste. Straight patterns need roughly 8 to 10 percent extra, diagonal patterns need about 15 percent, and herringbone can run 18 to 20 percent because of the angled cuts at every edge.
The same 20 m² room can need anywhere from 22 to 24 m² of tile, purely based on which pattern you pick. Here’s how the four common layouts compare.
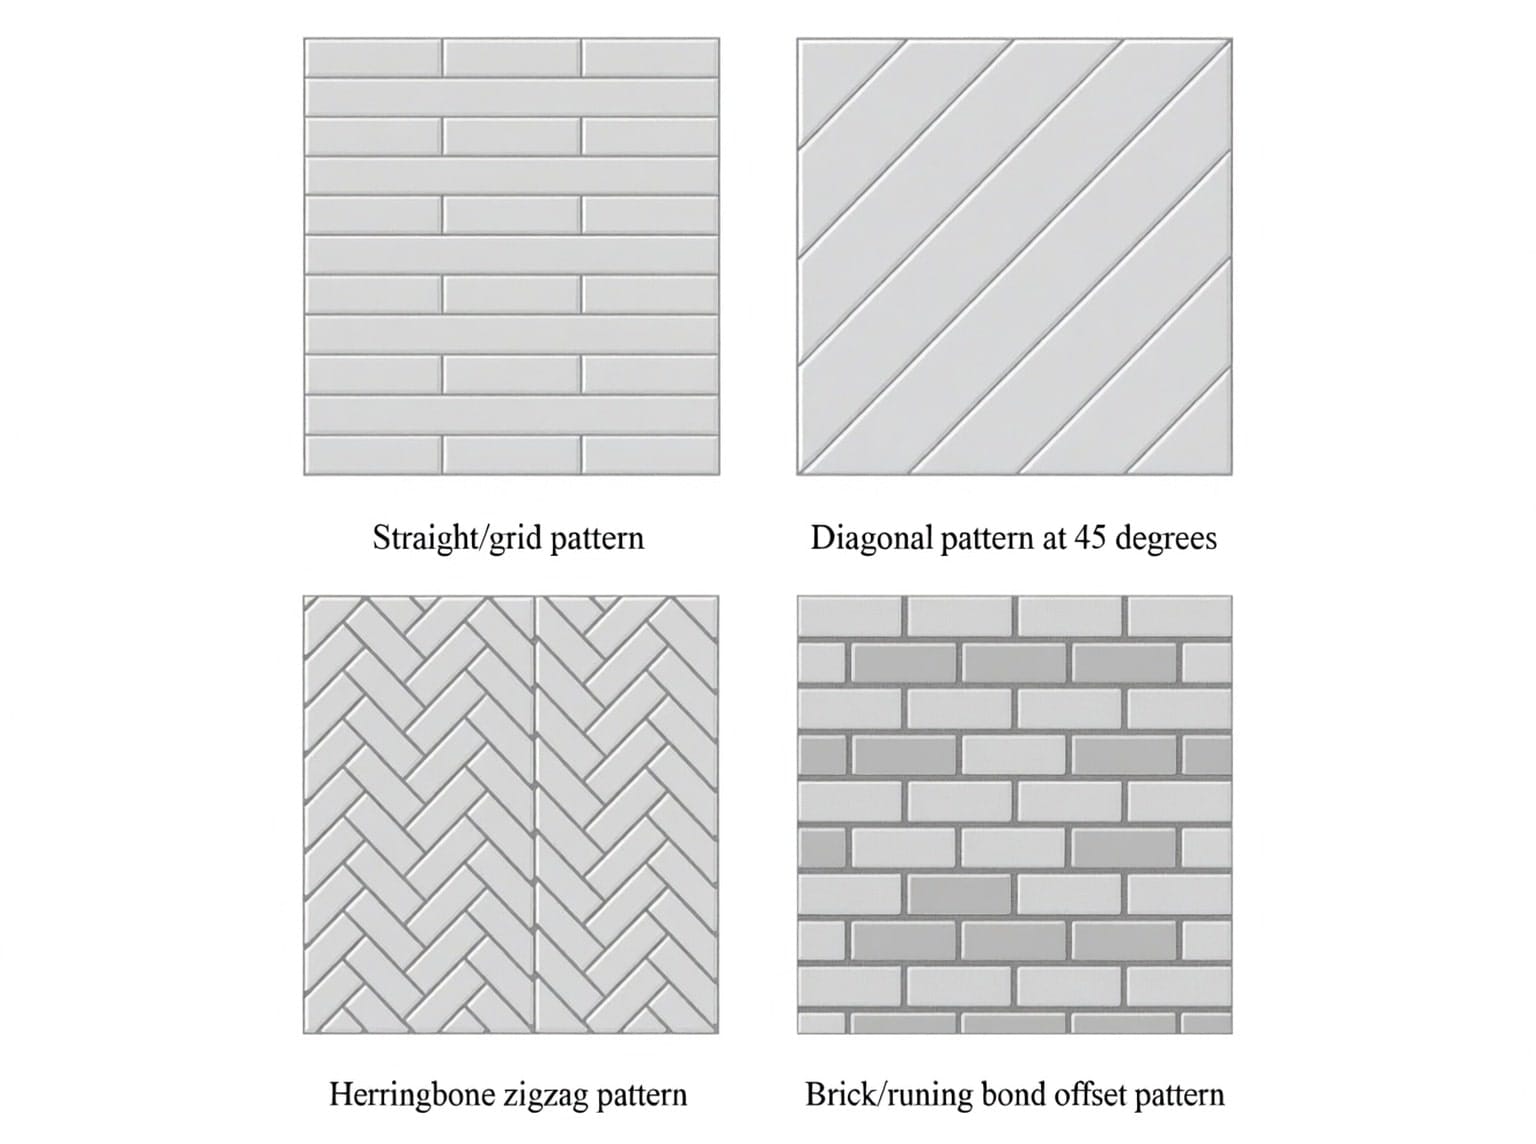
| Pattern | Waste % | Cutting Difficulty | Best For |
|---|---|---|---|
| Straight / Grid | 8–10% | Low | Large format tiles, budget projects |
| Brick / Running Bond | 10–12% | Moderate | Subway tiles, backsplashes |
| Diagonal (45°) | 15% | Moderate–High | Making small rooms feel larger |
| Herringbone | 18–20% | High | Hallways, feature walls, luxury baths |
The core formula behind every pattern choice stays the same:
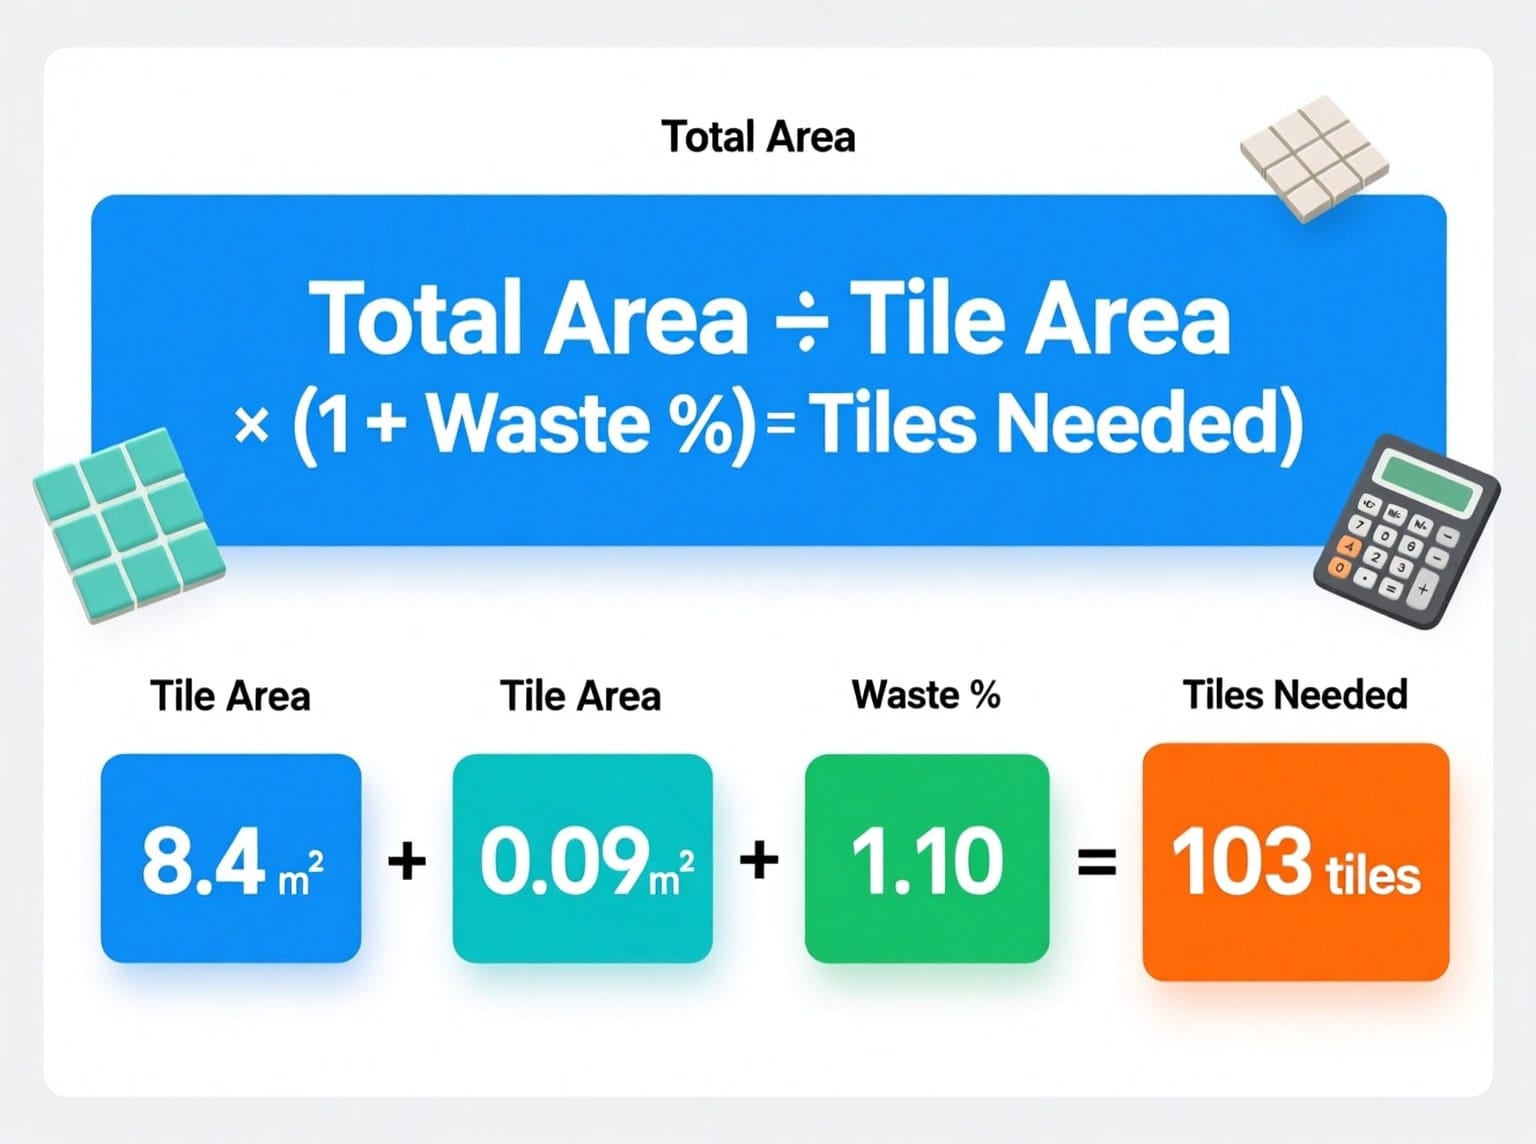
Tiles Needed = (Total Area ÷ Tile Area) × (1 + Waste %)
A straight-pattern room needing 100 base tiles becomes 110 tiles after waste. Swap to herringbone and that same base count becomes 118 to 120 tiles. Same room, same tile, nearly 20 extra pieces just from the pattern choice.
How Much Grout Do You Actually Need?
Grout weight equals total tiled area (including waste) multiplied by a grout rate that depends on tile size and joint width. Standard 300mm tiles with a 4mm joint use about 0.25 kg per square meter; smaller tiles and wider joints use more.
Grout is the material people forget until they’re standing at the checkout with tiles but no way to finish the joints. Smaller tiles mean more joints per square meter, so they need proportionally more grout.
| Tile Size | Typical Joint Width | Grout Rate (kg/m²) |
|---|---|---|
| 100mm × 100mm | 3mm | 0.35 |
| 150mm × 150mm | 3mm | 0.30 |
| 200mm × 200mm | 4mm | 0.28 |
| 300mm × 300mm | 4mm | 0.25 |
| 400mm × 400mm | 5mm | 0.22 |
| 600mm × 600mm | 5mm | 0.15 |
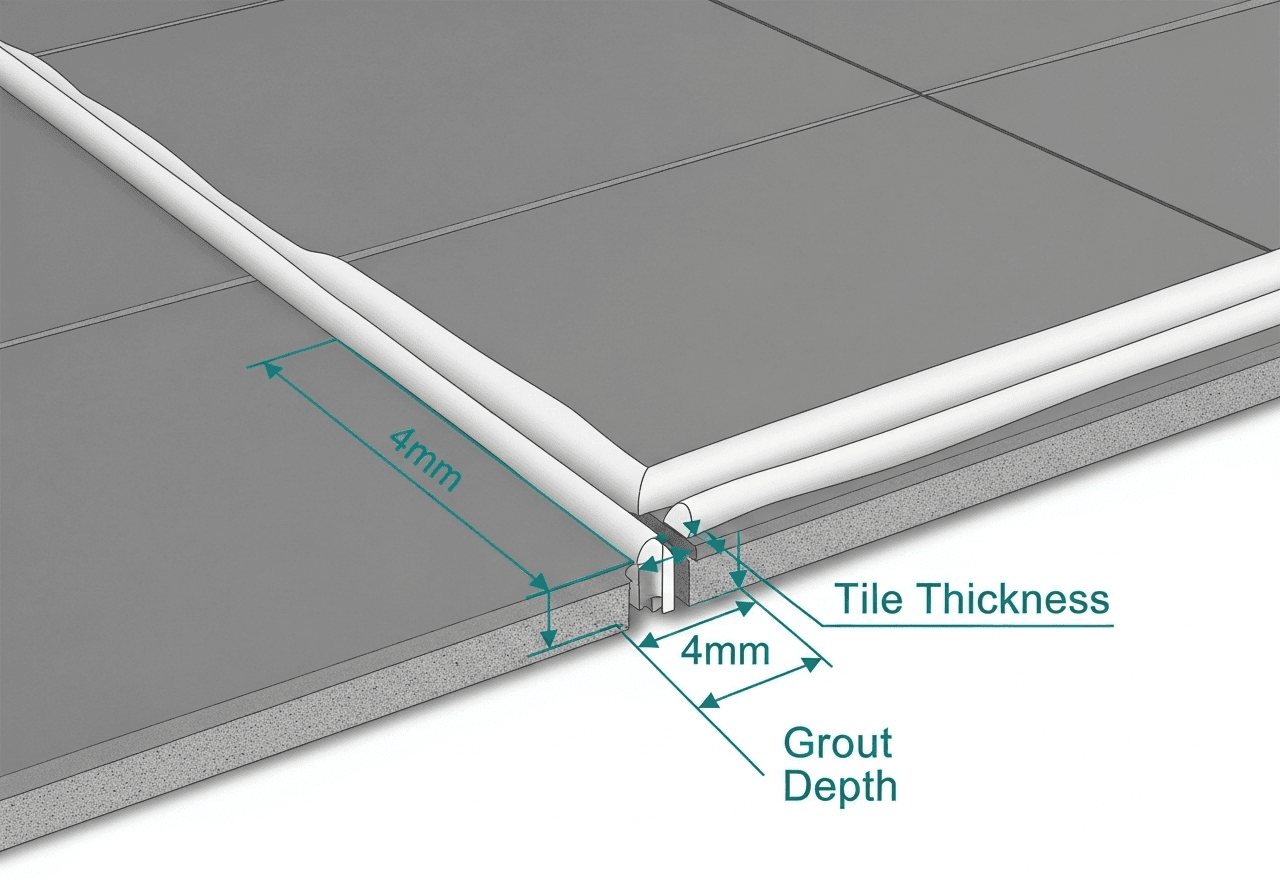
For a wet area like a shower or backsplash, cement grout is the cheaper default, but epoxy grout resists stains and doesn’t need sealing. It typically costs two to three times more, so most homeowners reserve it for high-moisture zones and use cement grout on dry floors. If you’re also budgeting cement and sand for the surrounding walls, the wall plaster quantity calculator covers that side of the material list.
Bathroom Example: A Full Walkthrough
Numbers help more than theory. Here’s a real bathroom, worked start to finish.
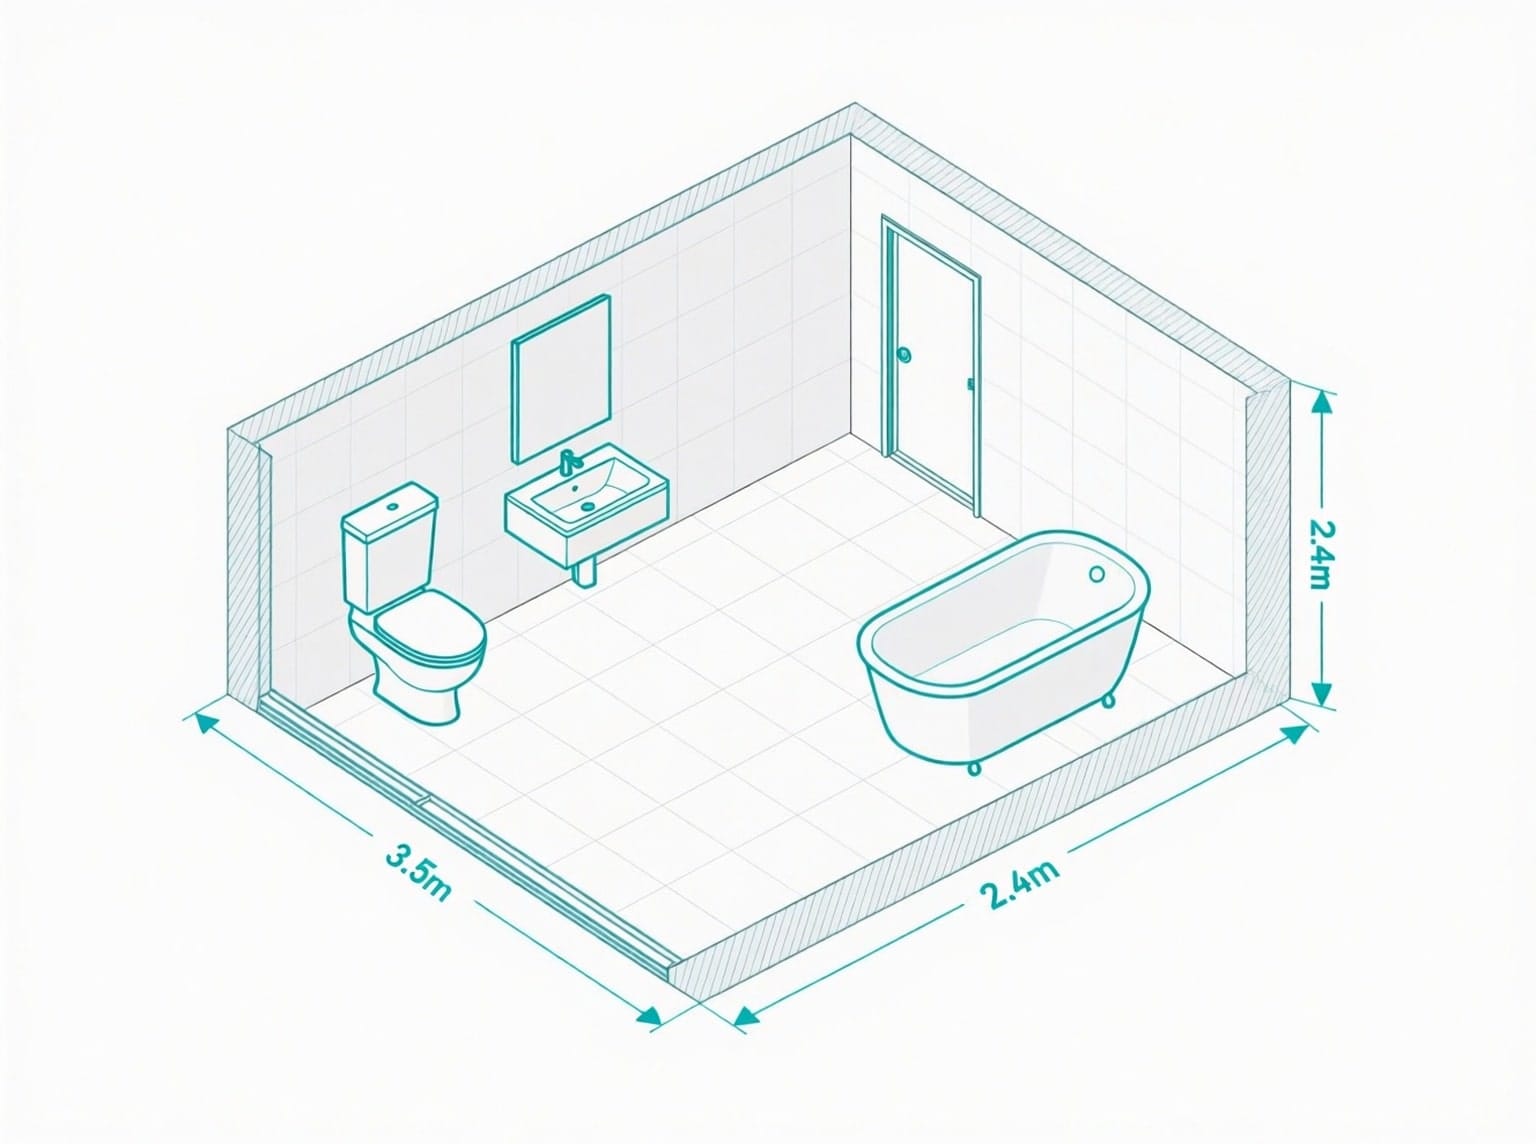
Project: 3.5m × 2.4m Bathroom, Full Wall Height
- Floor area: 3.5 × 2.4 = 8.4 m²
- Wall perimeter: 2 × (3.5 + 2.4) = 11.8m
- Wall area at 2.1m height: 11.8 × 2.1 = 24.78 m²
- Door deduction (0.9m × 2.1m): −1.89 m²
- Net wall area: 22.89 m²
- Total tiled area: 8.4 + 22.89 = 31.29 m²
- Tile: 300mm × 300mm (0.09 m² each), straight pattern, 10% waste
Total area with waste: 31.29 × 1.10 = 34.42 m². Tiles needed: 34.42 ÷ 0.09 = 382.4, rounded up to 383 tiles. At 1.44 m² per box: 34.42 ÷ 1.44 = 23.9, rounded up to 24 boxes. Grout needed: 34.42 × 0.25 kg/m² = 8.6 kg, meaning one 10kg bag with room to spare.
Kitchen Example: Floor Plus Backsplash
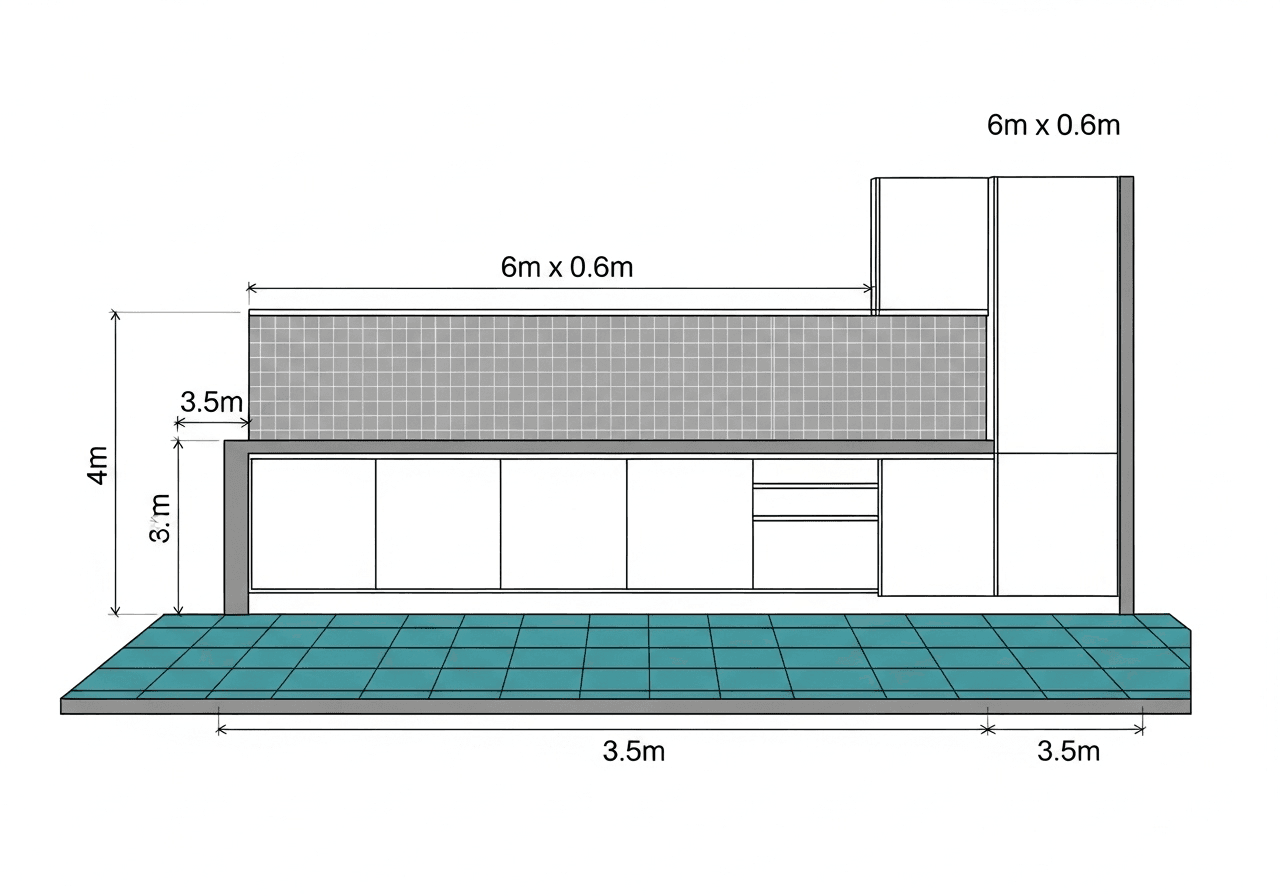
Kitchens usually mean two tiled surfaces at once: the floor and the backsplash. Here’s a diagonal-pattern kitchen worked through both.
Project: 4m × 3.5m Floor, 6m Backsplash Run at 0.6m Height
- Floor: 4 × 3.5 = 14 m²
- Backsplash: 6 × 0.6 = 3.6 m²
- Total area: 14 + 3.6 = 17.6 m²
- Tile: 300mm × 300mm (0.09 m² each), diagonal pattern, 15% waste
Area with waste: 17.6 × 1.15 = 20.24 m². Tiles needed: 20.24 ÷ 0.09 = 224.9, rounded up to 225 tiles. At 1.44 m² per box: 20.24 ÷ 1.44 = 14.1, rounded up to 15 boxes.
Planning a full renovation rather than one room? A land area calculator or the excavation and earthwork volume calculator can help scope the rest of the project before materials get ordered.
Common Tile Calculation Mistakes to Avoid
Most bad tile orders trace back to one of five repeatable errors.
- Ignoring pattern complexity. Ordering the exact base count for a herringbone layout, then running out mid-project when the angled cuts eat 15 to 20 extra tiles.
- Forgetting door and window deductions. A bathroom with a door and window can lose nearly 3 m² of wall area that shouldn’t be tiled at all.
- Mixing units. Measuring the room in feet and the tile in centimeters, then multiplying them together without converting first.
- Assuming every box covers the same area. Coverage per box varies by brand, sometimes by 25 percent or more for the same nominal tile size.
- Rounding down. 13.2 boxes needs to become 14 boxes, not 13. Rounding down guarantees a shortfall.
Order two extra boxes beyond the calculated total. Future cracked-tile repairs need a matching dye lot, and manufacturers discontinue colors more often than you’d expect.
If you’re pricing out the structural side of the same renovation, the concrete mix design calculator and bricks and block masonry calculator cover subfloor and wall material quantities using the same shape-based approach.
Frequently Asked Questions
How accurate is a smart tile calculator?
A smart tile calculator is typically 98 to 99 percent accurate when the input measurements are correct. The remaining margin comes from on-site factors like uneven walls, cutting technique, and the installer’s chosen starting point, which no calculator can see in advance.
Should I always add 10% waste to my tile order?
No. Ten percent works for a simple rectangular room in a straight pattern, but diagonal layouts need closer to 15 percent and herringbone needs 18 to 20 percent. First-time DIYers should add another 3 to 5 percent on top for learning-curve mistakes.
Can one calculator handle both floor and wall tiles?
Yes. Enter floor dimensions for the base area, then add wall height and perimeter for vertical surfaces, and the tool sums both automatically. Remember to deduct doors and windows from the wall total so you don’t order tile for space you’ll never cover.
How do I calculate tiles for an irregularly shaped room?
Use the L-shape mode for two connected rectangles, trapezoid mode for angled walls, or custom area entry if you’ve already measured the total square footage. For anything more complex, split the room into simple shapes, calculate each one, then add the totals together.
What if my room is measured in feet but my tiles are sized in centimeters?
A quality calculator converts room and tile units independently, so you can enter feet for the room and centimeters for the tile without doing manual conversion. Internally it standardizes everything to one unit before running the area and quantity math.
Are large format tiles harder to calculate?
Large format tiles (600mm and up) are actually simpler to calculate because fewer tiles cover the same area. They do need different site prep, including a flatter substrate and lippage control, so budget extra for those even though the tile count itself is lower.
Why do two different tile calculators give me different results?
Differences usually come from default waste percentages, rounding methods, and box coverage assumptions that vary between tools and manufacturers. Use a calculator that shows its full breakdown (raw tiles, waste applied, box coverage used) so you can see exactly where the number came from.
Ready to run your own numbers instead of someone else’s example?
Use the Smart Tile CalculatorThe Bottom Line on Tile Estimation
Getting tile quantities right comes down to four things: the correct shape formula, honest openings deductions, a waste percentage that matches your actual pattern, and rounding up at every step. Skip any one of those and you’re back to guessing.
A smart tile calculator handles all four in under three minutes, and it shows its work, so you can double-check the numbers before you buy. Whether you’re tiling a small bathroom or a full kitchen floor and backsplash, run your real measurements through the calculator above before you place an order.
Sources & Further Reading
Last Updated: | Next Review:
- National Tile Contractors Association (NTCA). Industry installation standards and reference manual.
- Tile Council of North America (TCNA). Technical handbook and coverage guidelines.
- U.S. Census Bureau. Construction spending and home renovation data.